High Trestle Trail Bridge: Complete Guide to Parking, Lights, Walking, Biking and Photos
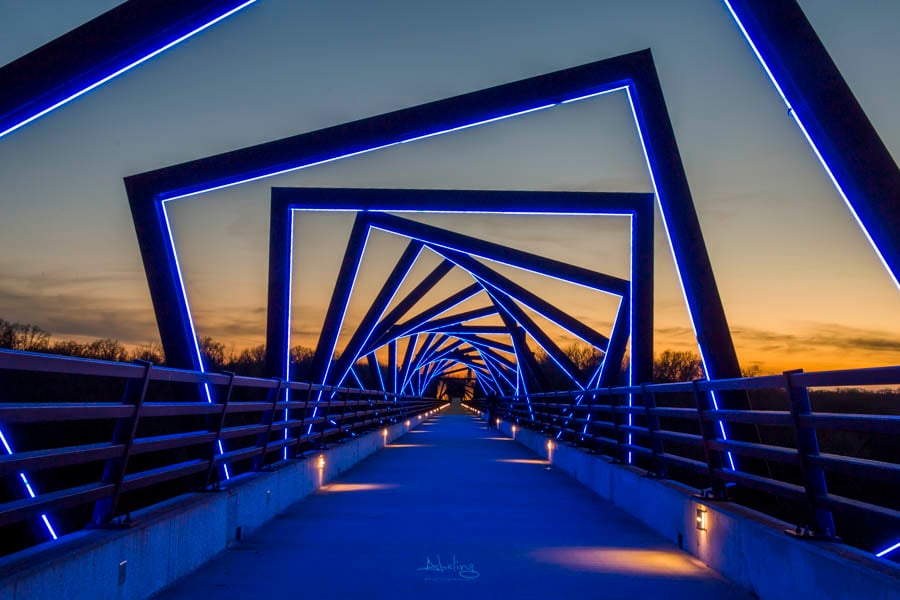
The High Trestle Trail Bridge is one of those Iowa places almost everyone has seen in photos: glowing blue frames, a tunnel-like walkway, and the Des Moines River Valley far below.
But the photos do not fully capture what it feels like to be there.
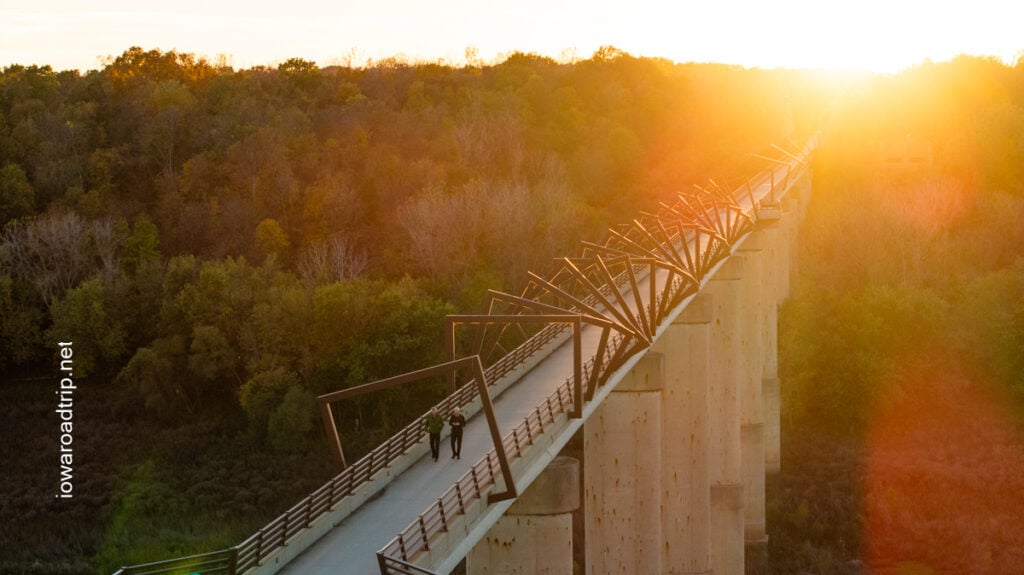
During the day, it is a scenic trail bridge with expansive views. Around sunset, it becomes one of the most distinctive places in Iowa. After the blue lights come on, walking or biking across it feels like moving through a piece of public art suspended above the river valley.
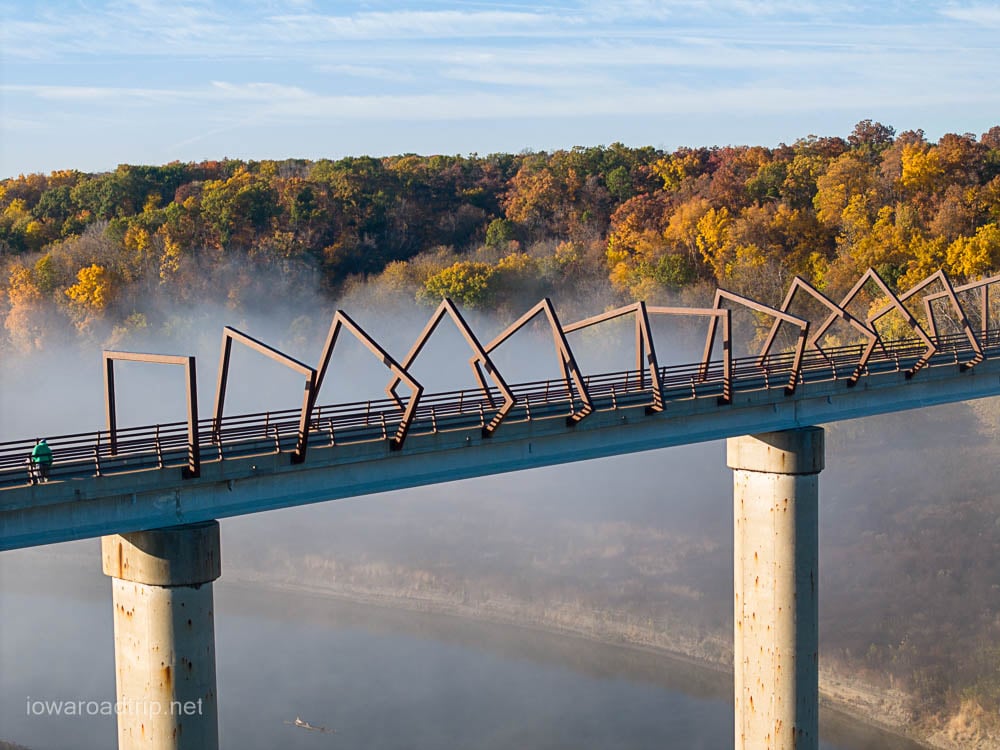
This guide will help you plan your first visit, including where to park, when to arrive, whether to walk or bike, what lights to bring, and where to find the best photo angles.
Quick visitor information
Location: Between Madrid and Woodward, Iowa
Closest parking: 2335 QF Lane, Madrid, Iowa 50156
Distance from QF Lane: Approximately three-quarters of a mile each way
Cost: Free
Bridge length: Approximately one-half mile
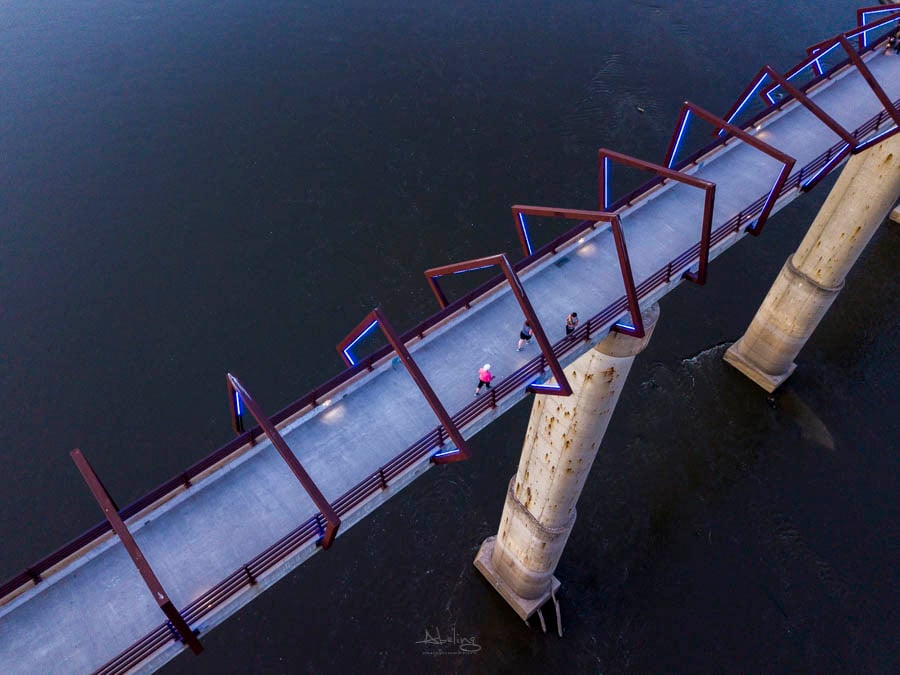
Height: About 13 stories above the Des Moines River Valley
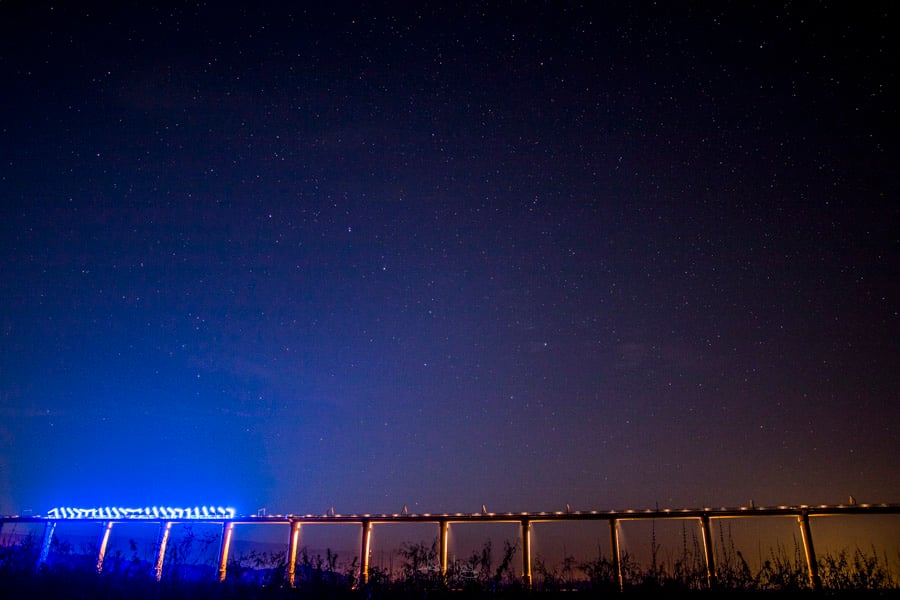
Lights: Sunset to midnight from April through October; sunset to 9 p.m. from November through March
Best arrival time: About 20 minutes before sunset
Best first visit: Park at QF Lane and bike when possible
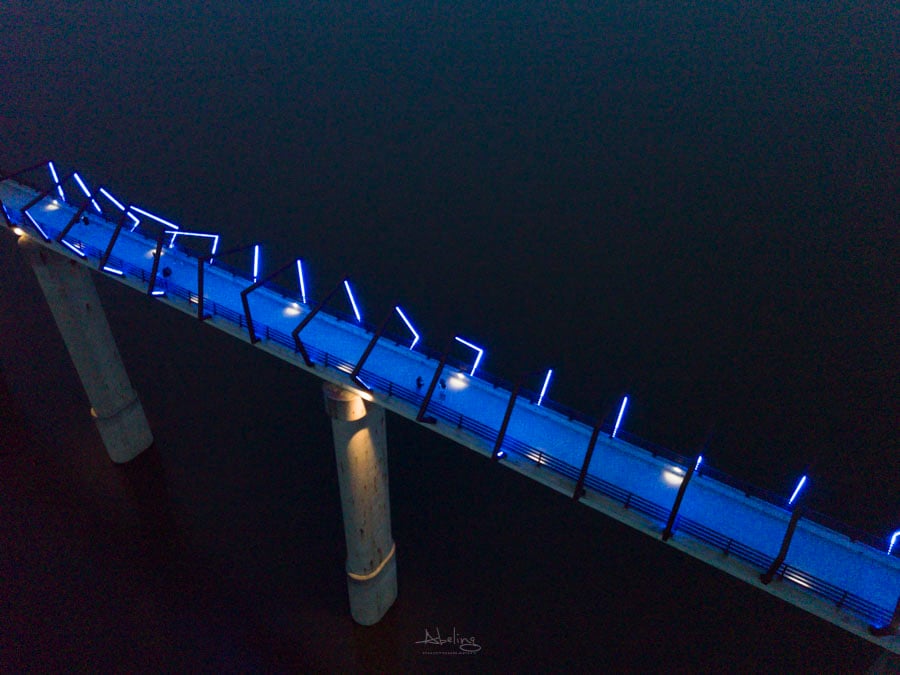
Important: Only part of the bridge is illuminated. The trail back to the parking area is dark.
You cannot drive directly to the bridge. Every visit requires a walk or bike ride from a trail access point.
What is the High Trestle Trail Bridge?
The High Trestle Trail Bridge is the signature landmark of the High Trestle Trail, a paved recreational route connecting several central Iowa communities.
The trail stretches approximately 25 miles between Ankeny and Woodward. The bridge itself is about one-half mile long and rises roughly 13 stories above the Des Moines River Valley.
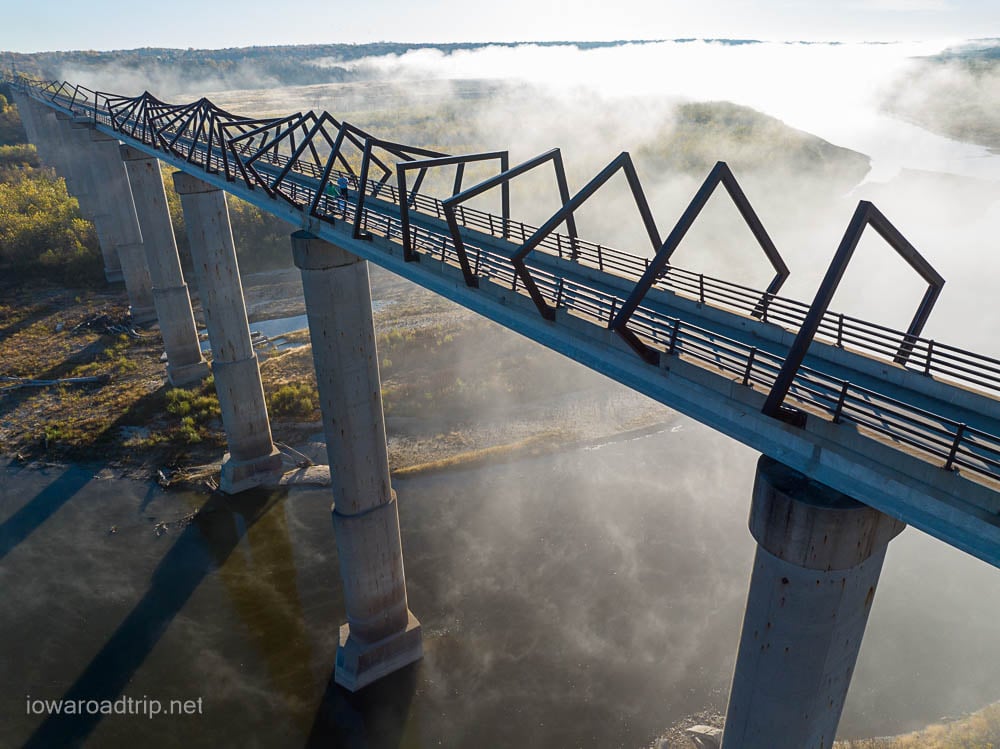
Many people know it simply as “the blue bridge.”
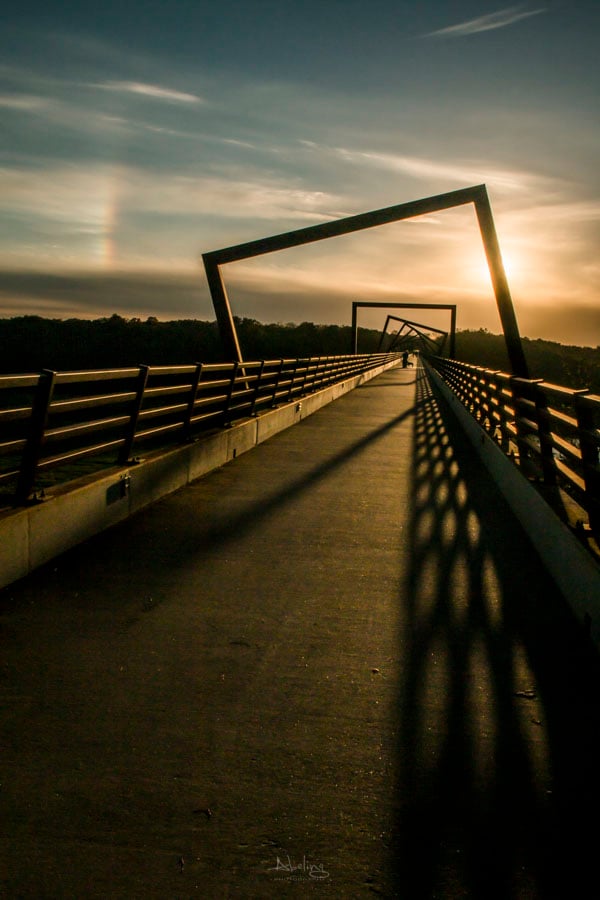
Steel frames and blue LED lights create the appearance of a glowing tunnel. The result is part trail bridge, part scenic overlook, and part public art installation.
During the day, the landscape and river valley are the main attractions. Around sunset, visitors begin gathering and the blue lights become more visible. After dark, the illuminated section takes on a completely different atmosphere.
Where should you park?
Several trailheads provide access to the bridge. The best choice depends on whether you want a short visit, a longer ride, or time in one of the nearby trail towns.
QF Lane: best for a first visit
For most first-time visitors, especially those planning to stay for the lights, I recommend the QF Lane parking area.
Address: 2335 QF Lane, Madrid, Iowa 50156
Distance to bridge: Approximately three-quarters of a mile each way
Best for: First visits, families, walkers, photographers, sunset trips, and short bike rides
This is the closest common parking area to the bridge.
That shorter distance matters after sunset. Once you finish enjoying the blue lights, you still need to return to your vehicle on a trail that is not illuminated.
QF Lane provides enough of a walk or ride to make the bridge feel like a destination without requiring a long nighttime return.
Madrid trailhead
Starting in Madrid works well for visitors who want a longer bike ride or want to pair the bridge with food, drinks, or time in town.
You can bike from Madrid to the bridge, explore the structure from both directions, and return to town afterward.
This is a good choice for a more complete trail-town outing rather than a quick bridge visit.
Woodward trailhead
Woodward is another option, particularly when approaching from the west.
This route works best for experienced walkers or cyclists who are comfortable covering a longer distance and potentially returning after dark.
Longer trail rides
Cyclists can also reach the bridge as part of a longer ride through communities such as Ankeny, Sheldahl, Slater, Madrid, and Woodward.
For a first sunset visit, however, I recommend keeping the plan simple: park close, bring adequate lights, and allow plenty of time at the bridge.
Should you walk or bike?
You can enjoy the High Trestle Trail Bridge either way.
Biking
If you have access to a bike, biking is my preferred way to visit.
A bike gives you more flexibility to:
- Cross the bridge in both directions
- Move between different overlooks
- Back away for photographs
- Explore more of the trail
- Return to your vehicle faster after dark
That flexibility matters because most visitors stay longer than they expect once the lights come on.
Use a front light and rear light when riding at sunset or after dark. Slow down on the bridge and watch for walkers, families, photographers, and other cyclists.
Walking
Walking is also a great option, especially for visitors who want to take their time or focus on photography.
The walk from QF Lane is manageable, but the two directions feel different.
On the way to the bridge, you are generally traveling downhill and will probably still have daylight. After seeing the lights, you return uphill and in the dark.
That does not make the walk difficult, but it is something many first-time visitors underestimate.
Wear comfortable shoes, bring proper lights, and take your time on the return trip.
Best time to visit
The best time to visit is around sunset, but do not wait until it is completely dark to arrive.
For a first visit, arrive at the QF Lane parking area approximately 20 minutes before sunset. That gives you time to walk or bike the three-quarters of a mile to the bridge.
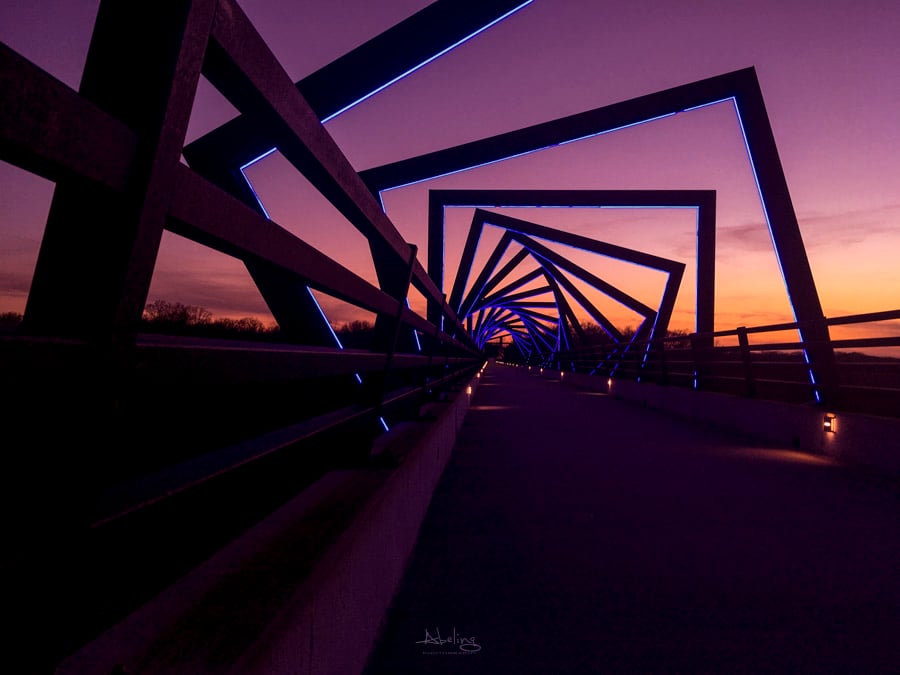
You do not necessarily need to be standing in the blue-lit section when the sun reaches the horizon. In my experience, the most interesting light often develops about 15 minutes after sunset.
At that point:
- The sky still has color
- The blue lights are becoming more prominent
- The bridge and sky retain visual contrast
- Photographs often look more dramatic than they do in full darkness
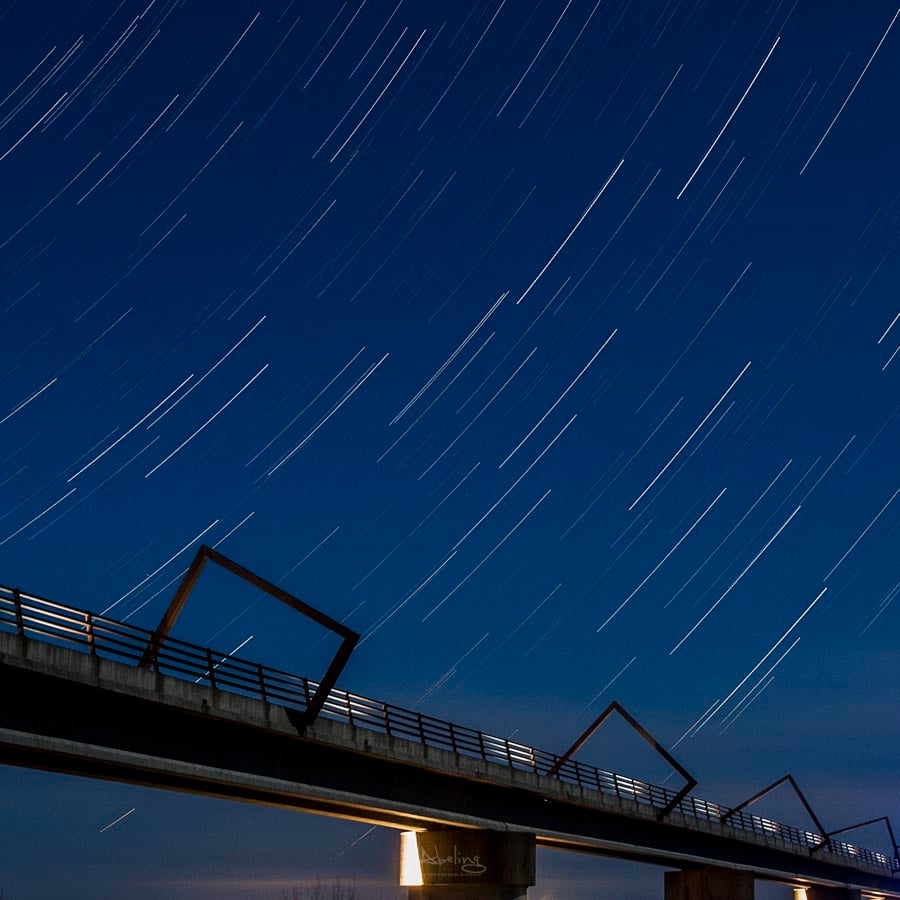
Once the sky turns completely black, the blue lights remain impressive, but some of the surrounding landscape and atmosphere disappear from photographs.
Arriving before dark also allows you to learn the route, see the river valley, and explore the bridge before the return trip.
What to do when you reach the bridge
Most people reach the first impressive view, stop immediately, and begin taking photos.
I recommend doing the opposite.
Cross the bridge first.
Walk or bike through the illuminated section, continue to the other side, visit the overlooks, and look back from both directions.
The bridge changes depending on where you stand. The first angle you see may not be the one you like best.
Experience it first. Photograph it second.
After crossing the bridge, you will have a better sense of its scale, the available viewpoints, and how the frames look from different directions.
Best photo locations
There are many ways to photograph the High Trestle Trail Bridge, but these are my three favorite locations.
1. Raised overlook near the west end
Near the west end of the bridge, an overlook sits slightly above the main trail.
Most other viewing areas are at approximately the same level as the bridge. The added height at this overlook provides a different perspective and helps show the shape of the structure.
It is one of the best places to capture something other than the standard view from inside the blue frames.
2. Inside the blue-lighted section
This is the classic High Trestle Trail Bridge photo.
The steel forms, blue glow, tunnel effect, and people moving through the space all come together here.
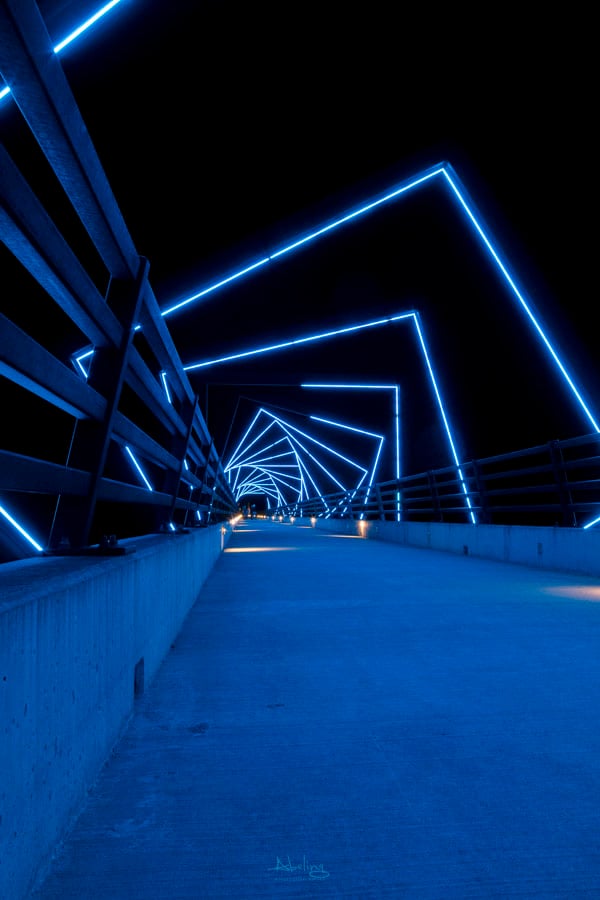
This is also one of the busiest sections after sunset. Rather than waiting indefinitely for an empty bridge, consider including walkers and cyclists in the image.
People and bikes add scale and help show how large the structure really is.
3. Back away and zoom in
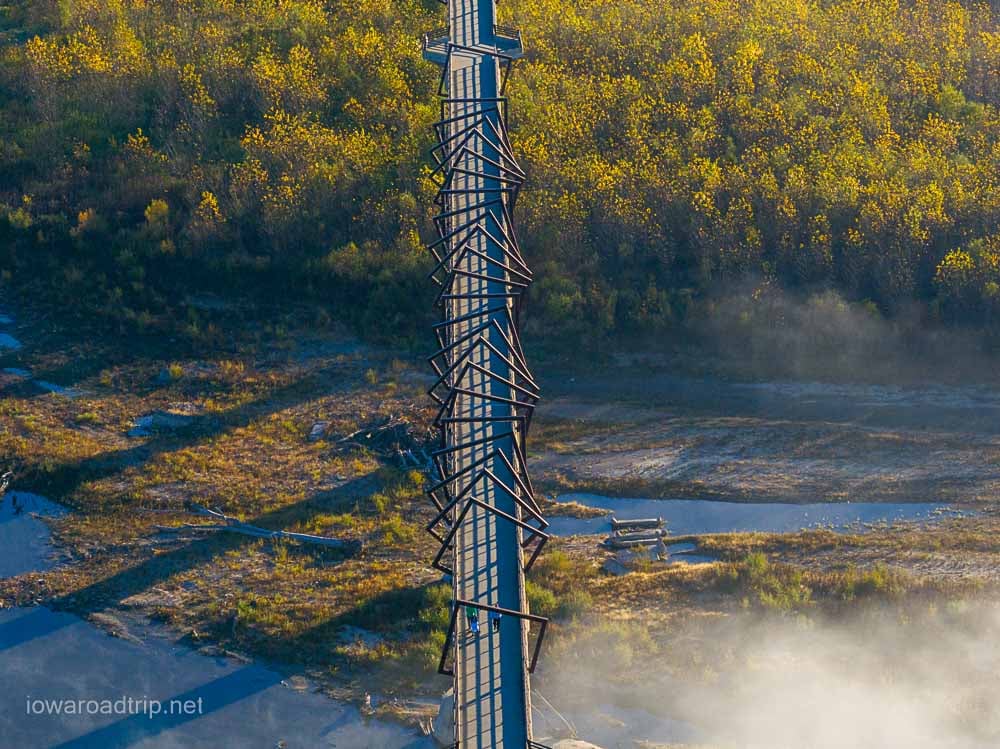
Move approximately 100 yards away from the main illuminated section while remaining on the bridge, then zoom back toward the frames.
This compresses the perspective and makes the blue forms appear stacked together.
You do not need professional photography equipment. A phone with a zoom lens can create the same basic effect.
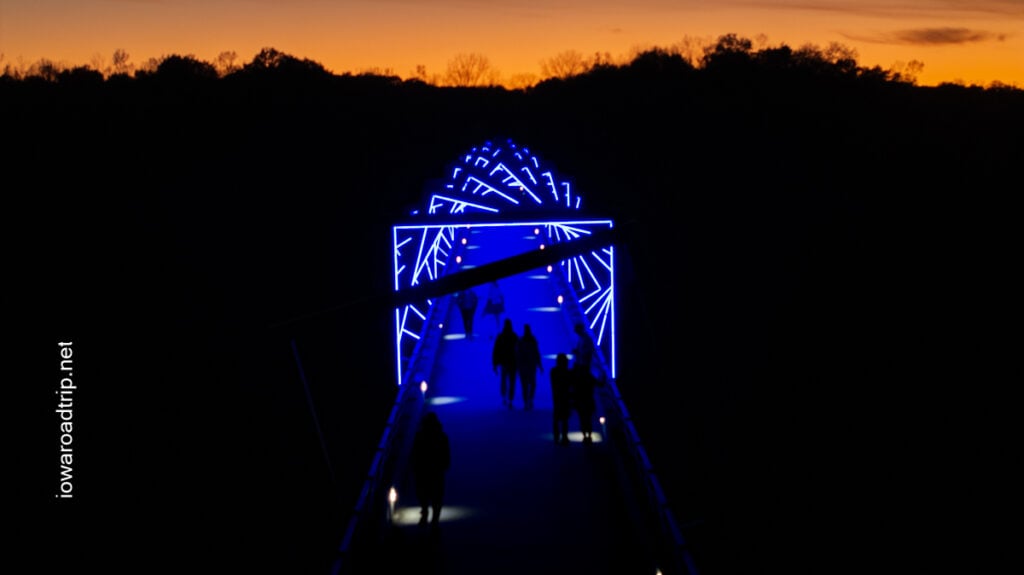
Do not take every photo from directly inside the lights. Move around, try both directions, and allow the shape of the bridge to create the composition.
High Trestle Trail Bridge photography tips
- Arrive before dark so you can scout locations.
- Stay through twilight instead of photographing only in full darkness.
- Photograph the bridge from both directions.
- Use people and bicycles to show scale.
- Try both wide images and zoomed-in compositions.
- Keep yourself and your equipment out of the main travel lane.
- Bring a battery pack if you plan to take many photos or videos.
- Avoid using your phone as your only light source for the return trip.
A phone battery can drain quickly when taking night photos and video. Save enough power to communicate in an emergency, and bring a separate flashlight or headlamp.
The most important safety tip: bring two lights
The biggest mistake visitors make is assuming the entire trail will be illuminated.
Only part of the bridge has blue lighting. The trail between the bridge and QF Lane is dark.
Ideally, bring two light sources:
- A forward-facing light so you can see the trail
- A rear or side light so other trail users can see you
Your forward light might be:
- A flashlight
- A headlamp
- A bike headlight
Your visibility light might be:
- A blinking clip-on LED
- A rear bicycle light
- A glow band
- A light attached to a backpack, jacket, stroller, or bicycle
The second light is especially important for walkers.
Most people think only about whether they can see the trail. On a shared trail after dark, you also need to consider whether a cyclist approaching from behind can see you.
A cell phone flashlight is not enough. The battery may already be low after taking photos and video, and the light may not make you visible from behind.
One light is for you. The other is for everyone else.
Is the bridge good for families?
Yes. The High Trestle Trail Bridge can be a memorable family outing, particularly around sunset.
For a first family visit, use the QF Lane parking area to keep the walk or ride shorter.
Give each child a flashlight, glow band, or clip-on light. Children usually think the lights are part of the adventure, and they also make everyone easier for cyclists and other visitors to see.
Remember that this is not a roadside pull-off. Families still need to cover approximately three-quarters of a mile each way from the closest parking area.
Bring comfortable shoes, layers for changing temperatures, and enough lights for every person in the group.
What do the blue frames mean?
The High Trestle Trail Bridge is more than a bridge with decorative lights.
The steel frames and blue LED lighting were designed to reference the area’s coal-mining history and geology. Their stacked forms create the sensation of moving through a mine shaft.
The installation includes 41 steel frames and 23 illuminated cribs, transforming the bridge crossing into an art experience.
The design connects the modern recreational trail with the history of the surrounding landscape.
When you walk or bike through the blue section, you are moving through a piece of Iowa history interpreted through public art.
A former railroad corridor
The High Trestle Trail follows a former railroad corridor.
That history helps explain the relatively gentle trail grade, which makes the route popular for walking and biking.
The combination of rail-trail, scenic river crossing, dramatic bridge, and nighttime art installation has helped make the High Trestle Trail Bridge one of Iowa’s most photographed landmarks.
Horses are not allowed on the bridge.
What should you bring?
For a sunset or nighttime visit, consider bringing:
- Comfortable walking shoes or a bicycle
- A flashlight, headlamp, or front bike light
- A rear or side visibility light
- Water
- A charged phone or camera
- A portable battery pack
- A jacket or wind layer
- Bug spray during summer
- Glow bands or small lights for children
The two-light rule is the most important part of the list.
Frequently asked questions
Can you drive directly to the bridge?
No. You must walk or bike from a trail access point.
What is the closest parking area?
The closest common parking area is at 2335 QF Lane near Madrid.
How far is the bridge from QF Lane?
The bridge is approximately three-quarters of a mile from the parking area, making the round trip about one and one-half miles.
When do the lights turn on?
The blue lights turn on at sunset.
When do the lights turn off?
The listed light schedule is sunset to midnight from April through October and sunset to 9 p.m. from November through March.
Is the trail lit at night?
No. Only part of the bridge is illuminated. The trail back to the parking area is dark.
Is the return walk difficult?
The walk is manageable, but the return toward QF Lane is generally uphill and may be completely dark after sunset.
Is the bridge free?
Yes. There is no admission fee.
Final Iowa Road Trip recommendation
The High Trestle Trail Bridge is worth experiencing during daylight, at sunset, and after the blue lights come on.
For a first visit, park at QF Lane, arrive approximately 20 minutes before sunset, and use a bike when possible.
Once you reach the bridge, cross it before choosing your photo locations. View it from both directions, visit the raised overlook near the west end, and step back from the lights for a compressed view.
Most importantly, bring one light to see the trail and another to make yourself visible.
That small amount of preparation can turn the dark return trip from a concern into part of one of Iowa’s most memorable trail experiences.
The bridge is scenic during the day, beautiful at sunset, and unforgettable when the blue lights come on.